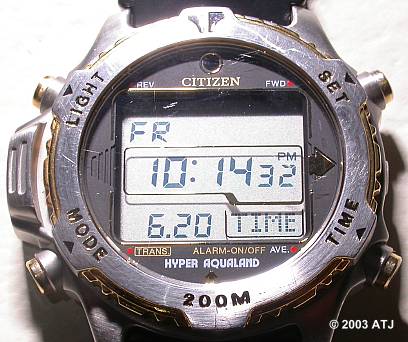
The photograph of my dive watch was saved at 10:14:38, a difference of only 6 seconds.
On June 16 I received the underwater housing and strobe for use with my Nikon Coolpix 4500. On Saturday June 21 I took it for its first dive. Here are my first impressions of Nikon Coolpix 4500 with Ikelite housing and Ikelite DS-50 Substrobe. This is only after one dive with average conditions and using a fully manual strobe.
Nikon Coolpix 4500 Digital Camera
Ikelite Digital Camera Housing for Coolpix 4500 (#6186)
Ikelite Substrobe DS-50(#4044)
Ikelite EV Manual Controller (#4100.6)
Ikelite Strobe Arm System (#5075.1)
I had originally ordered the Ikelite Single TTL Sync Cord (#4103) but due to a mix-up when the order was sent I received the manual controller instead. I am waiting for the TTL Sync cord to be sent.
Preparing the housing was pretty straightforward. I removed the back 'O'-ring and cleaned it and the housing using a clean handkerchief. I lubricated the 'O'-ring with a small amount of Nikonos silicone grease and placed the 'O'-ring on the back panel of the housing.
I placed a freshly changed Li-ion battery and a formatted 128MB CompactFlash card into the camera. The camera was set to Aperture mode, Close-up Macro mode and zoomed to allow the closest focusing distance. The aperture was set to minimum size of f10.3. The internal speedlight was switched on as this was to drive the manual controller connected to the strobe. I turned the camera on an popped the internal flash up. The image size was set to 2272x1704 and the quality to FINE.
The camera was placed on the small mounting tray connected to the housing back and fixed with a small screw into the tripod socket. After checking that all the controls were line up and functional, I placed the back onto the housing and closed the holding clips. I checked that the 'O'-ring was sealed all around the back of the housing. The darkened area where the 'O'-ring was compressed was consistent all the way around.
I turned the camera on and was able to access all the controls.
I connected the manual controller to the strobe and mounted both on the bracket of the housing. I adjusted the strobe so that it was pointing about 20 cm in front of the camera lens and the manual controller so that it was pointing at the internal flash. I took a test photograph of my dive watch. This allowed me to check the camera and strobe were working but also allowed me to determine any time differences between the watch and the camera - for determining depth later.

The photograph of my dive watch was saved at 10:14:38, a difference of only 6 seconds.
The camera was now ready for the dive the next day.
The complete unit weighs just under 4 kg (9 lbs) and can be carried quite easily in one hand whilst also carrying fins and mask/snorkel. It was a beach entry and I put my fins on up on the beach before walking (backwards into the water). This was reasonably easy to do whilst holding the camera and mask/snorkel in one hand. After walking into the water, I was able to clean and put on my mask while holding the camera. For a boat dive, you would have someone to hand you the camera, but could probably still manage without assistance.
Diving conditions were only average. Being within Sydney Harbour, there was little water movement, however, the visibility was poor. It was overcast for most of the dive so that further limited visibility and on the whole the dive was dark. The poor visibility meant that keeping in contact with my dive buddy was more difficult and so I spent less time setting up photographs. Under better conditions I think taking photographs would have improved.
For details of the dive, see 21 Jun, 2003 - Green Point.
Underwater the housing/camera/strobe is slightly negatively buoyant and was very easy to carry in one hand either with the grip in my left hand or by holding the housing itself in my right hand.
It took me a few shots before I got used to the shutter release control on the housing. It was certainly easier to use underwater than when playing on land. After a short while I was able to do a partial depress to turn on metering and autofocus without taking a photograph.
I found the monitor on the camera to be quite small and hard to read, but I'm not sure if that is due to the poor visibility and general lack of light on the dive. Lining up shots of things with a lot of contrast was quite easy but some more cryptic objects were more difficult.
Taking shots of subjects flush with the substrate were quite easy and in most cases the camera correctly chose the subject for focus. The swimming Labroides dimidiatus was more difficult because of its size and constant motion. As it was away from the substrate, the camera often focused on the background rather than the fish.
The strobe arm system was not easy to adjust, partly because I had done it up too tightly, but generally because the arms are too long. I will attempt to make my own brackets from PVC tubing.
Correct exposure could be approximated from the monitor of the camera, although this will take some practice. Most of the images that appeared in the monitor to be correctly exposed turned out to be fairly well exposed. It will be interesting to try again using the TTL sync cable.
One thing that was very annoying was the camera kept switching off. This was due to the auto-off setting being on 1 minute. I have changed this to 5 minutes which should be plenty. I did not attempt to adjust any settings while underwater.
Exiting from the water via the beach was quite easy. I was able to remove my mask and fins while still holding the camera. Considering I also had a plastic bag with some collected sea urchins, the camera did not hamper me at all.
The results of the first dive were pleasing, although there is still room for improvement. The poor visibility and a fair amount of particulate matter in the water affected some of the photographs.
As my dive watch records my depth every 5 seconds and the camera records the time each photograph is taken, I am able to determine the depth at which photograph is taken. This will prove useful for things like zooxanthellate corals as I will automatically record their depth by taking a photograph - as long as the camera and watch are synchronised.
Most of the photographs were well exposed and most were in focus. Contrast was a little low on some, but that may be due to the visibility.
All the photographs were taken at 2272x1704 with FINE quality. Most of the pictures below were resized to 640x480 before they were cropped and sharpened.
Here is a selection of the photographs:
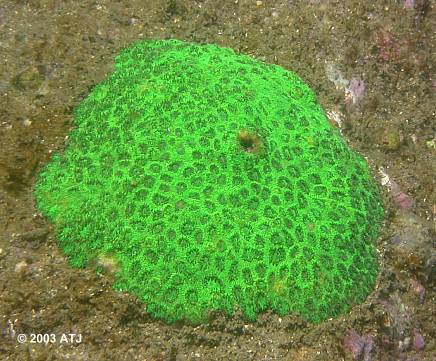
Plesiastrea versipora
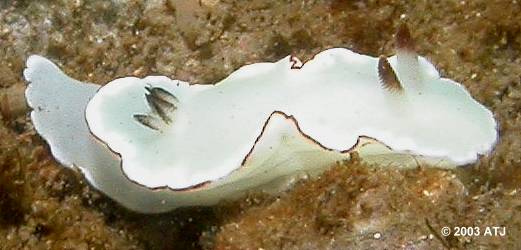
Glossodoris atromarginata
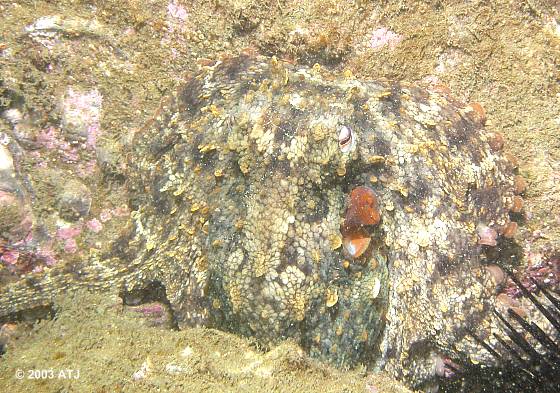
Octopus tetricus
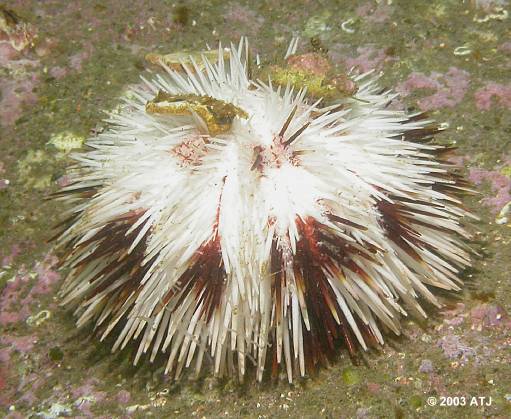
Pseudoboletia maculata
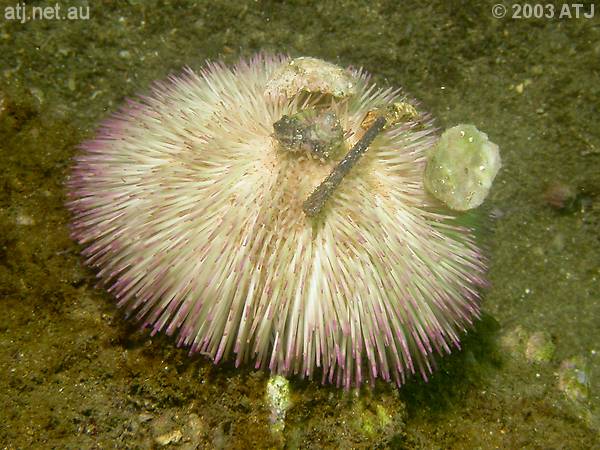
P. indiana
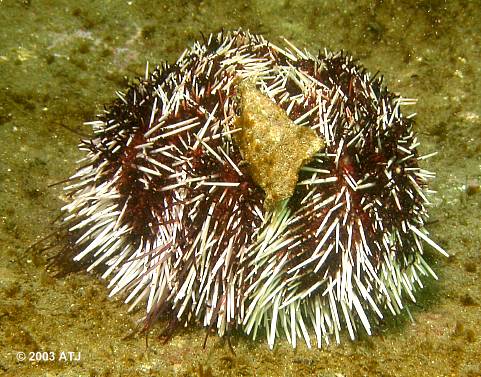
Tripneustes gratilla
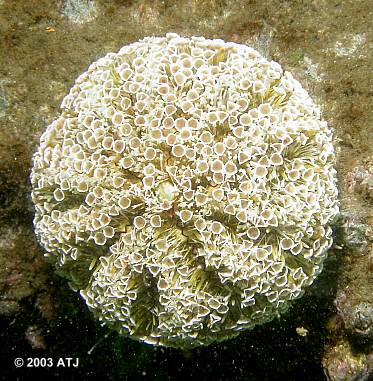
Toxopneustes pileolus
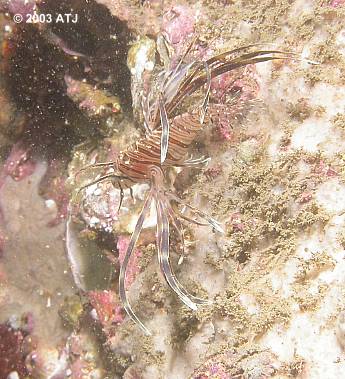
Pterois volitans
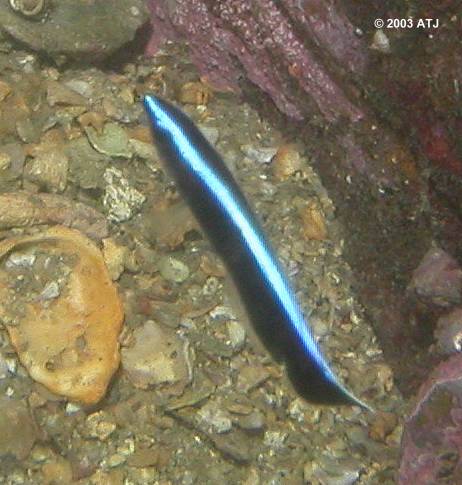
Labroides dimidiatus
Last updated: 23 June 2003