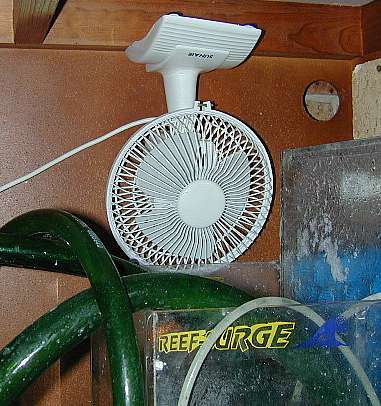
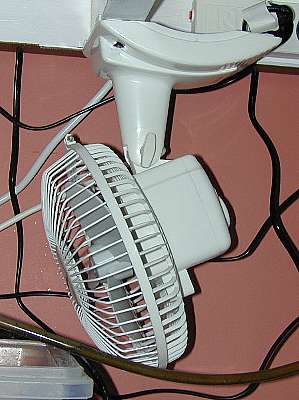
Fan over the sump of 6' FOWLR
Keeping a tank warm is relatively simple, even when it is cold. Unfortunately, when the Summer months come around the air temperature increases and so do the tank temperatures. Even with the heater off, heat from pumps and powerheads combined with the warm air temperature keep the tank temperatures higher than desirable. Purpose built coolers will certainly keep the tank cool but they are not cheap.
A simple, effective and most importantly cheap method of keeping the tank cool is by evaporation. When water evaporates, energy in the form of heat is taken from the around the water to bring the evaporating water to the energy levels necessary to transform the water molecules to gas. (Pure water becomes a gas at 100° C at 1 atmosphere of pressure.) This causes matter from the surrounding area to cool. This is why sweat is cooling. In our tanks, it is the remaining water that becomes cooled.
If water is heated to 100° C (at 1 atm) it all becomes gas, however, at water temperatures below 100° C, the evaporation rate is dependent on the humidity of the air. If the air at the air-water interface is already saturated with water (100% relative humidity) no water will evaporate. If the air is dry (low relative humidity), the water will evaporate quickly. If there is little air movement over the water surface, the air quickly becomes saturated and evaporation slows or even stops. Blowing air over the water surface, quickly moves the water laden air away and keeps the evaporation rate up. As the water evaporates the remaining water cools.
Desktop fans are relatively inexpensive. I have bought a few 15cm ones from Hardwarehouse in Sydney for $11.95 and a slightly different design from Harvey Norman for $14.00. Being cheap, these tend to be made from plastic which reduces the chance of rusting and other forms of oxidation. The fan should be mounted securely such that it will blow over the surface of the water, the sump being the most suitable site.
So far, I have installed fans on the sumps of my 6' FOWLR, 60GFOWLR and 50G Reef 1. In each case, the base of the fan is attached to the inside of the stand.
Fan over the sump of 6' FOWLR
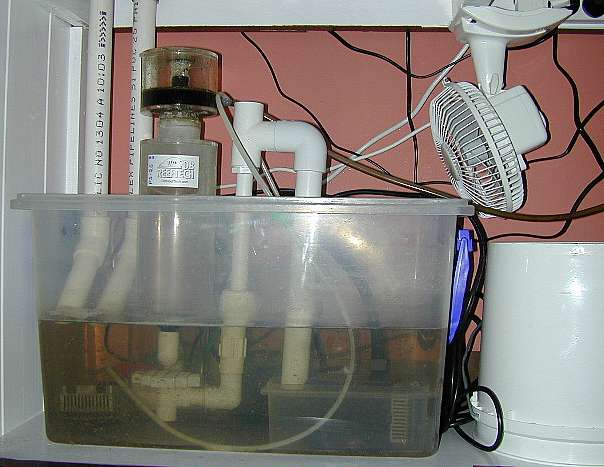
Fan over sump of 60GFOWLR
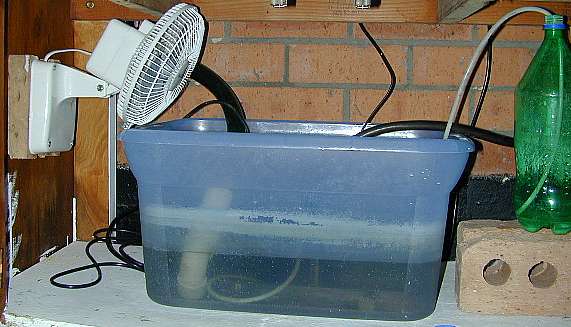
Fan over sump of 50G Reef 1
I also have another fan blowing air between the Metal Halide lamps and the top of 50G Reef 1. This fan is attached to the wall beside the tank.
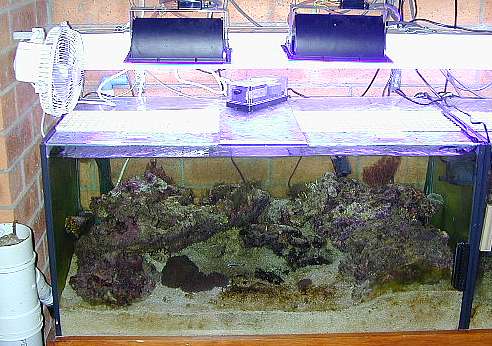
Fan over top of 50G Reef 1
Mounting
Both my 6' FOWLR and 60GFOWLR have high cabinets and I was able to mount the fans directly to the top of the cabinet. This was just a matter of drilling holes in the fan's base and screwing the base to the underside of the cabinet brace.
Sump fan in cabinet of 60GFOWLR
The cabinet in my two Reef tanks is not as high and mounting the fan to the underside of the brace would result in the fan hanging too low. Instead I mounted the fan on the side of the cabinet. I had to space the base out a few centimetres so the fan would clear one of the braces. Two pieces of wood were screwed to the side of the cabinet and then the base screwed to these. I used zinc plated screws to reduce corrosion.
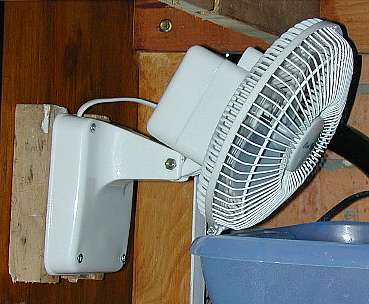
Sump fan in cabinet of 50G Reef 1
Results
The results on 60GFOWLR were amazing. Water temperatures for the week prior to the addition of the fan were between 28 and 29° C. The morning after adding the fan, the water temperature was only 25.5° C as the heater was off. After turning the heater back on, the water temperature stabilised at between 26 and 26.5° C and only climbed to 27° C when the room temperature got up to 30° C.
The additional benefit is the evaporation rates of the tanks have gone up considerably, which allows me to dose more "Kalkwasser". Both 60GFOWLR and 50G Reef 1 went from less than 1.25L per day to around 3L per day.
The cost to run the fans is quite low. They are rated at 18W which at our current domestic tariff works out to less than $16 per year per fan assuming they are run continuously. It is important to remember, however, that the heater will be on longer each day to offset the cooling effects of the fan. It would be a good idea to connect the fan to thermostat so that it is only on when required.
Last updated: November 15, 2002