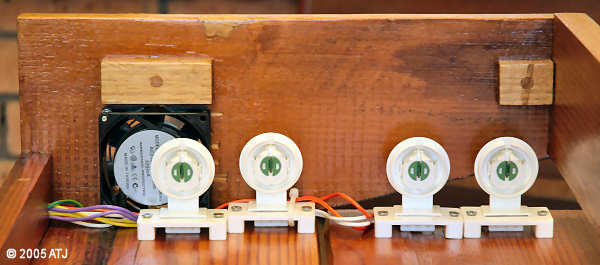
Figure 1: One end of the hood showing the exposed T5 endcaps.
For over 6 years I have been using an old hood for 40G2 (40G before that) and Quarantine2 (Quarantine before that). The hood was orginally used for the tank that is now 180G and is designed for a 18" wide 6' long tank. It has served well over the time but was starting to show signs of wear. The paint inside was starting to flake off and the wood was sagging. It was time to replace the hood.
As I was going to replace the hood, I thought it would be worthwhile also upgrading the lighting on 40G2 from 4 x 30W Normal Output T8 tubes to 4 x 39W High Output T5 tubes with reflectors. The extra lighting would allow me to put more corals in the tank. The lighting for Quarantine2 (2 x 30W Normal Output T8 tubes) was already suitable for that tank so this was replaced with like.
As I used waterproof endcaps for the T5 tubes, I decided to eliminate just about all electricals from inside the hood. This meant building control units for the T5 and T8 ballasts.
After a bit of searching around at what was available from stores, I decided to build the hood from scratch. I already had a suitable piece of wood that was large enough for the hood, so I was all set.
The design was pretty straight forward and very similar to standard hoods from aquarium stores.
My brother-in-law kindly allowed me to use his bench saw to cut the wood into the desired pieces and I assembled it with dowel, biscuits and PVA glue.
T5 ballasts are very long and thin. The Clalight single and twin 39W ballasts are 382mm long, 28mm wide and 21.5 mm high. I had three ballasts, so I needed something around 390mm long, 90mm wide and at least 25mm high. Unfortunately, I was not able to find a suitable box at either Dick Smiths or Jaycar.
Figure 1: One end of the hood showing the exposed T5 endcaps.
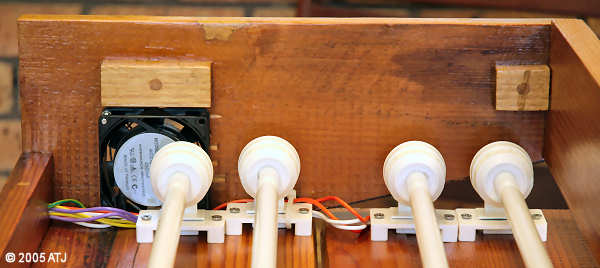
Figure 2: One end of the hood showing the endcaps with T5 tubes fitted.
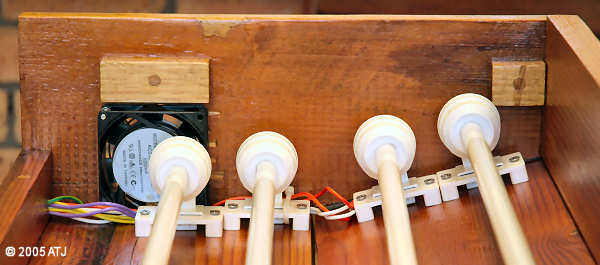
Figure 3: One end of the hood showing the endcaps with T5 tubes fitted, with lid in closed position.
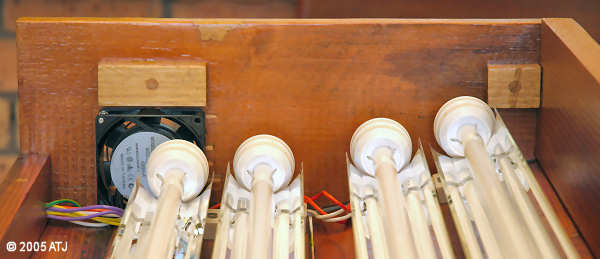
Figure 4: One end of the hood showing the endcaps with T5 tubes and reflectors fitted.
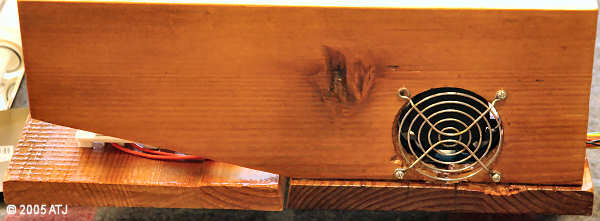
Figure 5: Outside of one end of the hood showing fan.
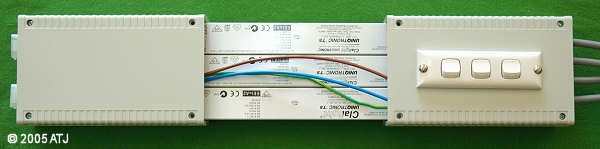
Figure 6: Control Unit front panel.
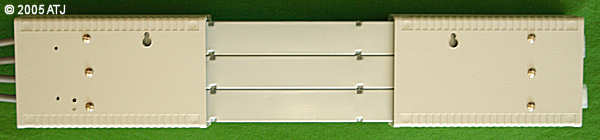
Figure 7: Control Unit rear panel.
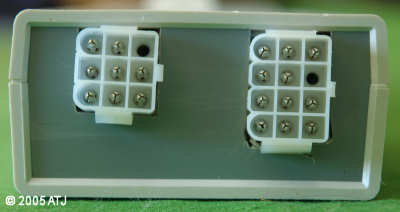
Figure 8: Control Unit connectors.
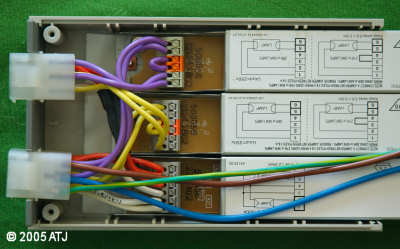
Figure 9: Control Unit internals (left).
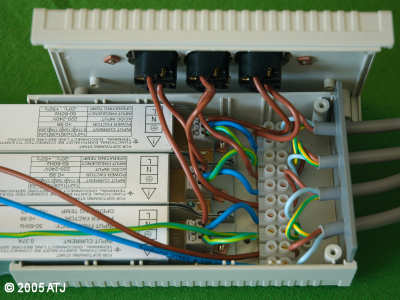
Figure 10: Control Unit internals (right).
Figure 11 shows before and after photographs of the tank and also indicates approximate photosynthetically available radiation (PAR) at various points within the tank. Lighting under the T5 lamps was generally two to three times higher than under the previous lighting. The increase in lighting is due to:
The old hood has the following tubes:
Last updated: December 12, 2005